R8 Outdoor Power Rack

The R8 Outdoor Series

High-quality power racks for all weather conditions

Outdoor Power Rack von Atletica R8 Serie
The Foundation for Safe Outdoor Training

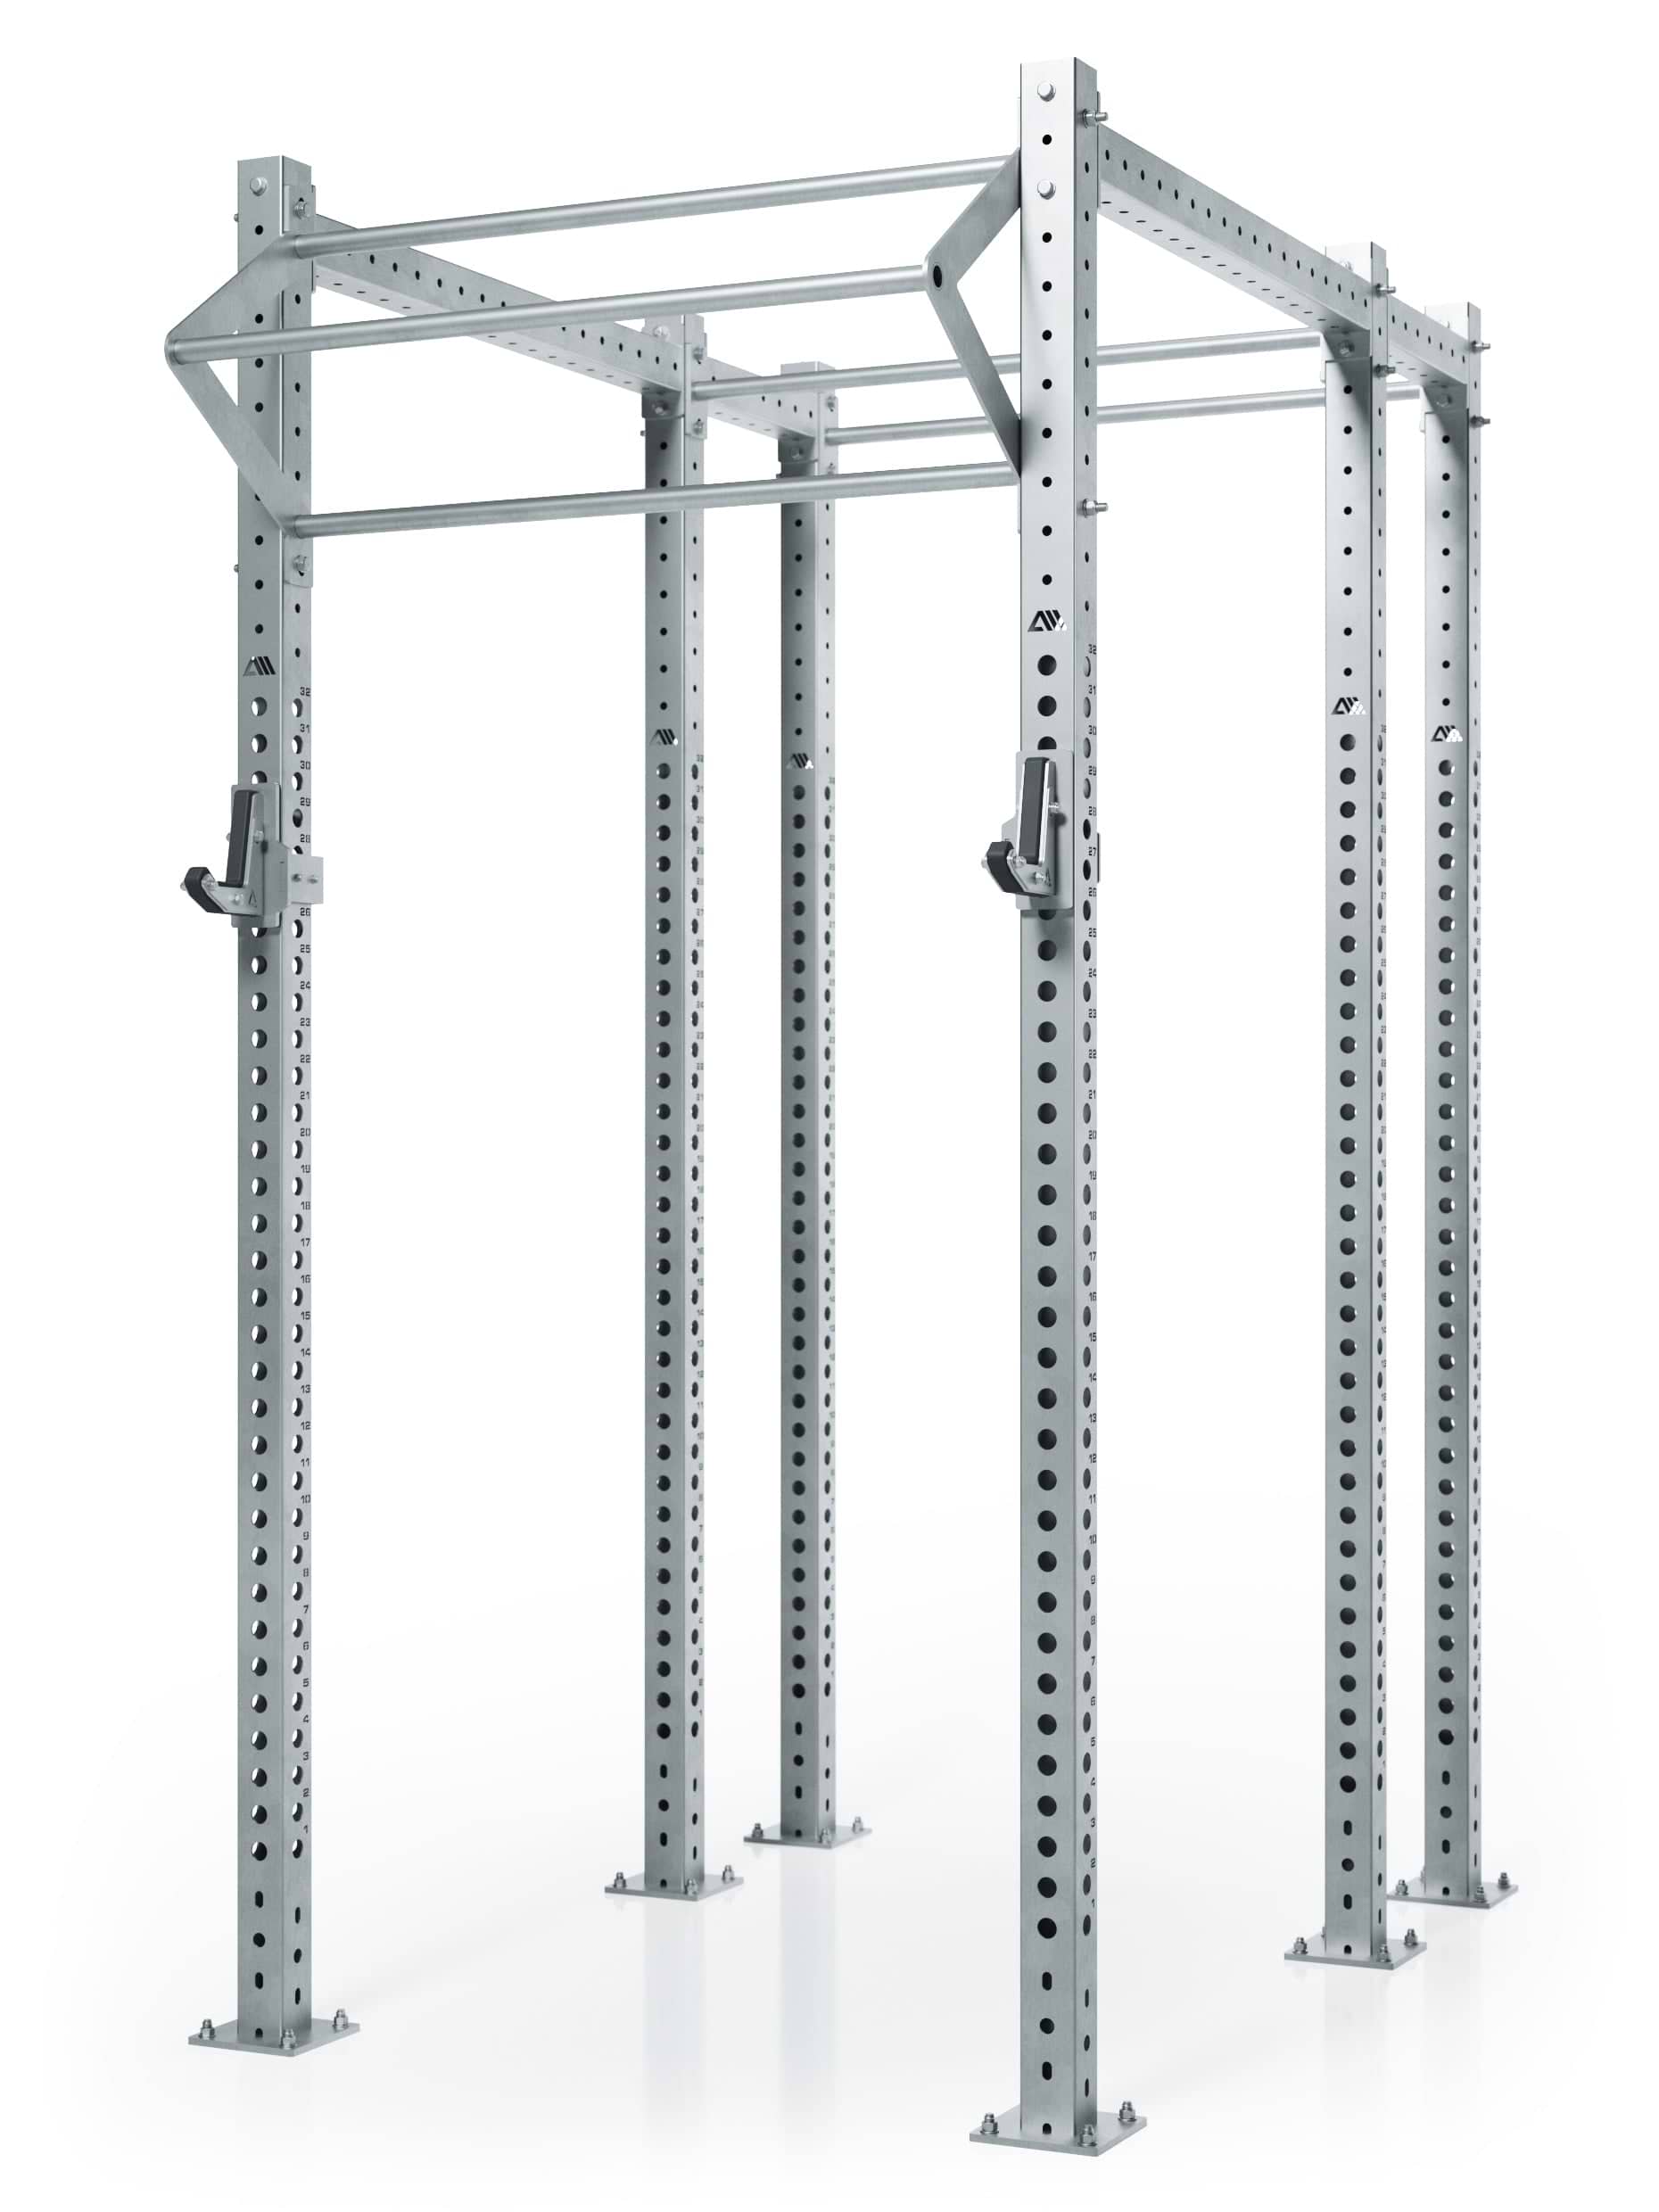
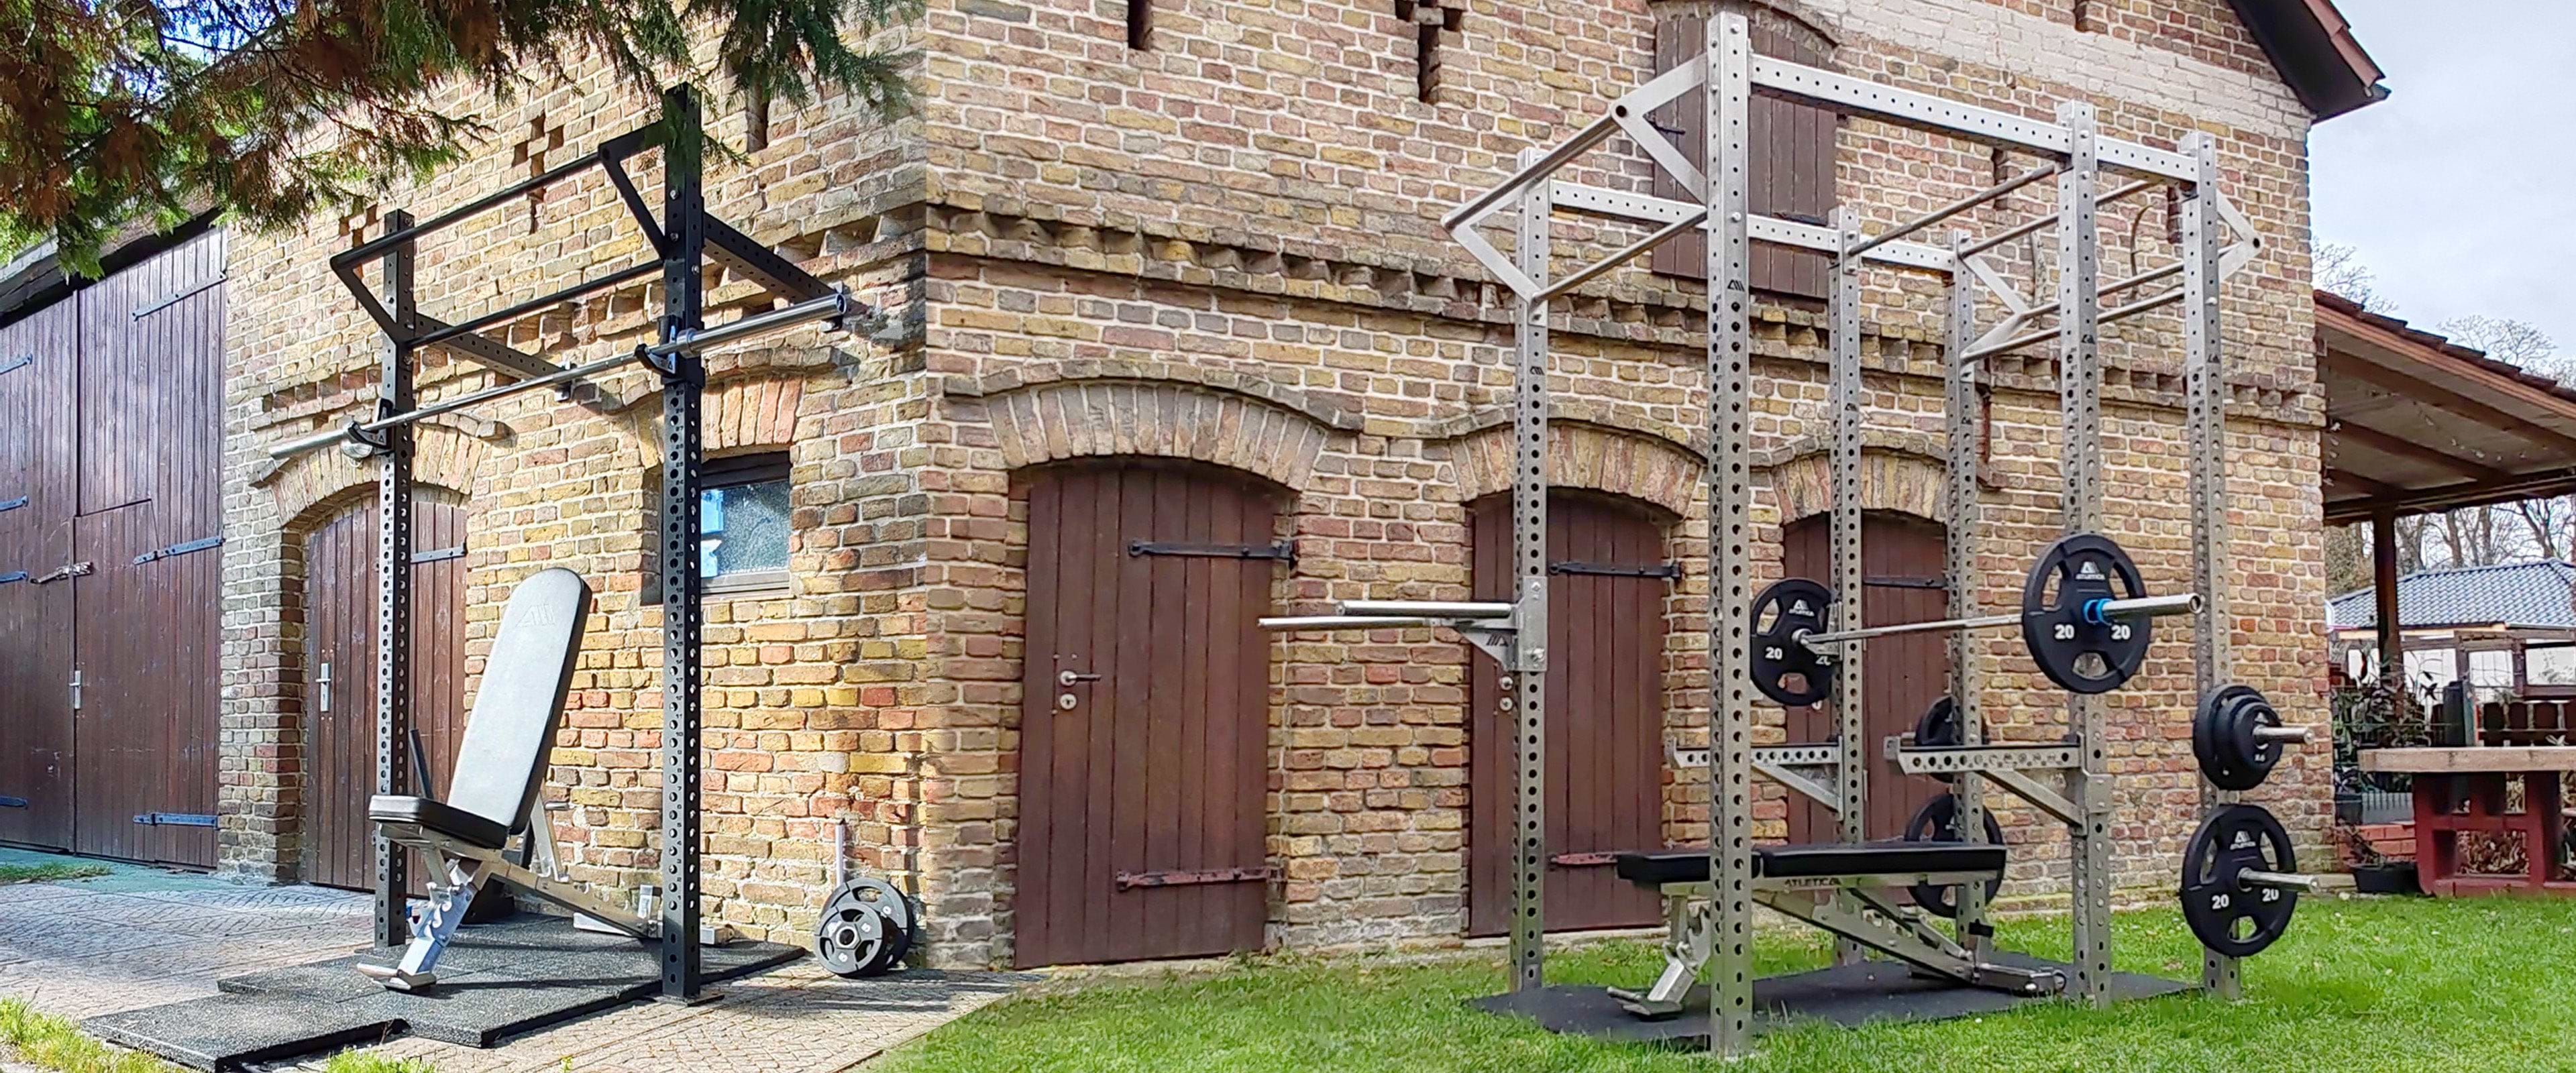
For a safe and long-lasting outdoor training experience, careful planning—and in some cases, surface preparation—is essential.

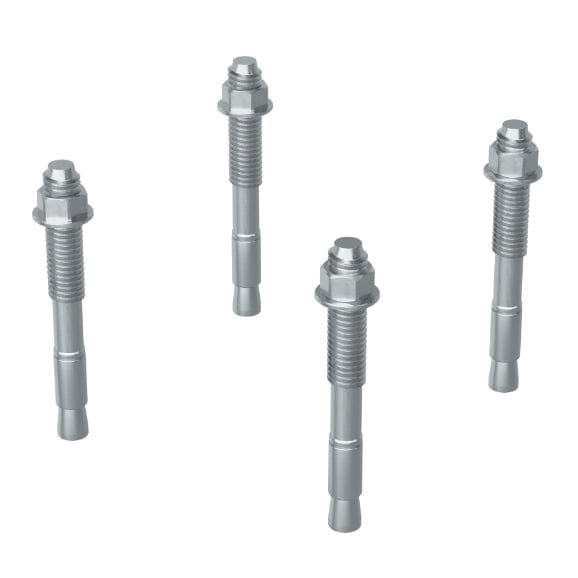
The choice of ground anchoring depends a lot on the soil type and its load-bearing capacity. Whether it's concrete, sand, or clay, what matters most is that the training equipment remains stable and secure. In general, sandy soil offers less support than solid ground, while clay typically provides greater stability.

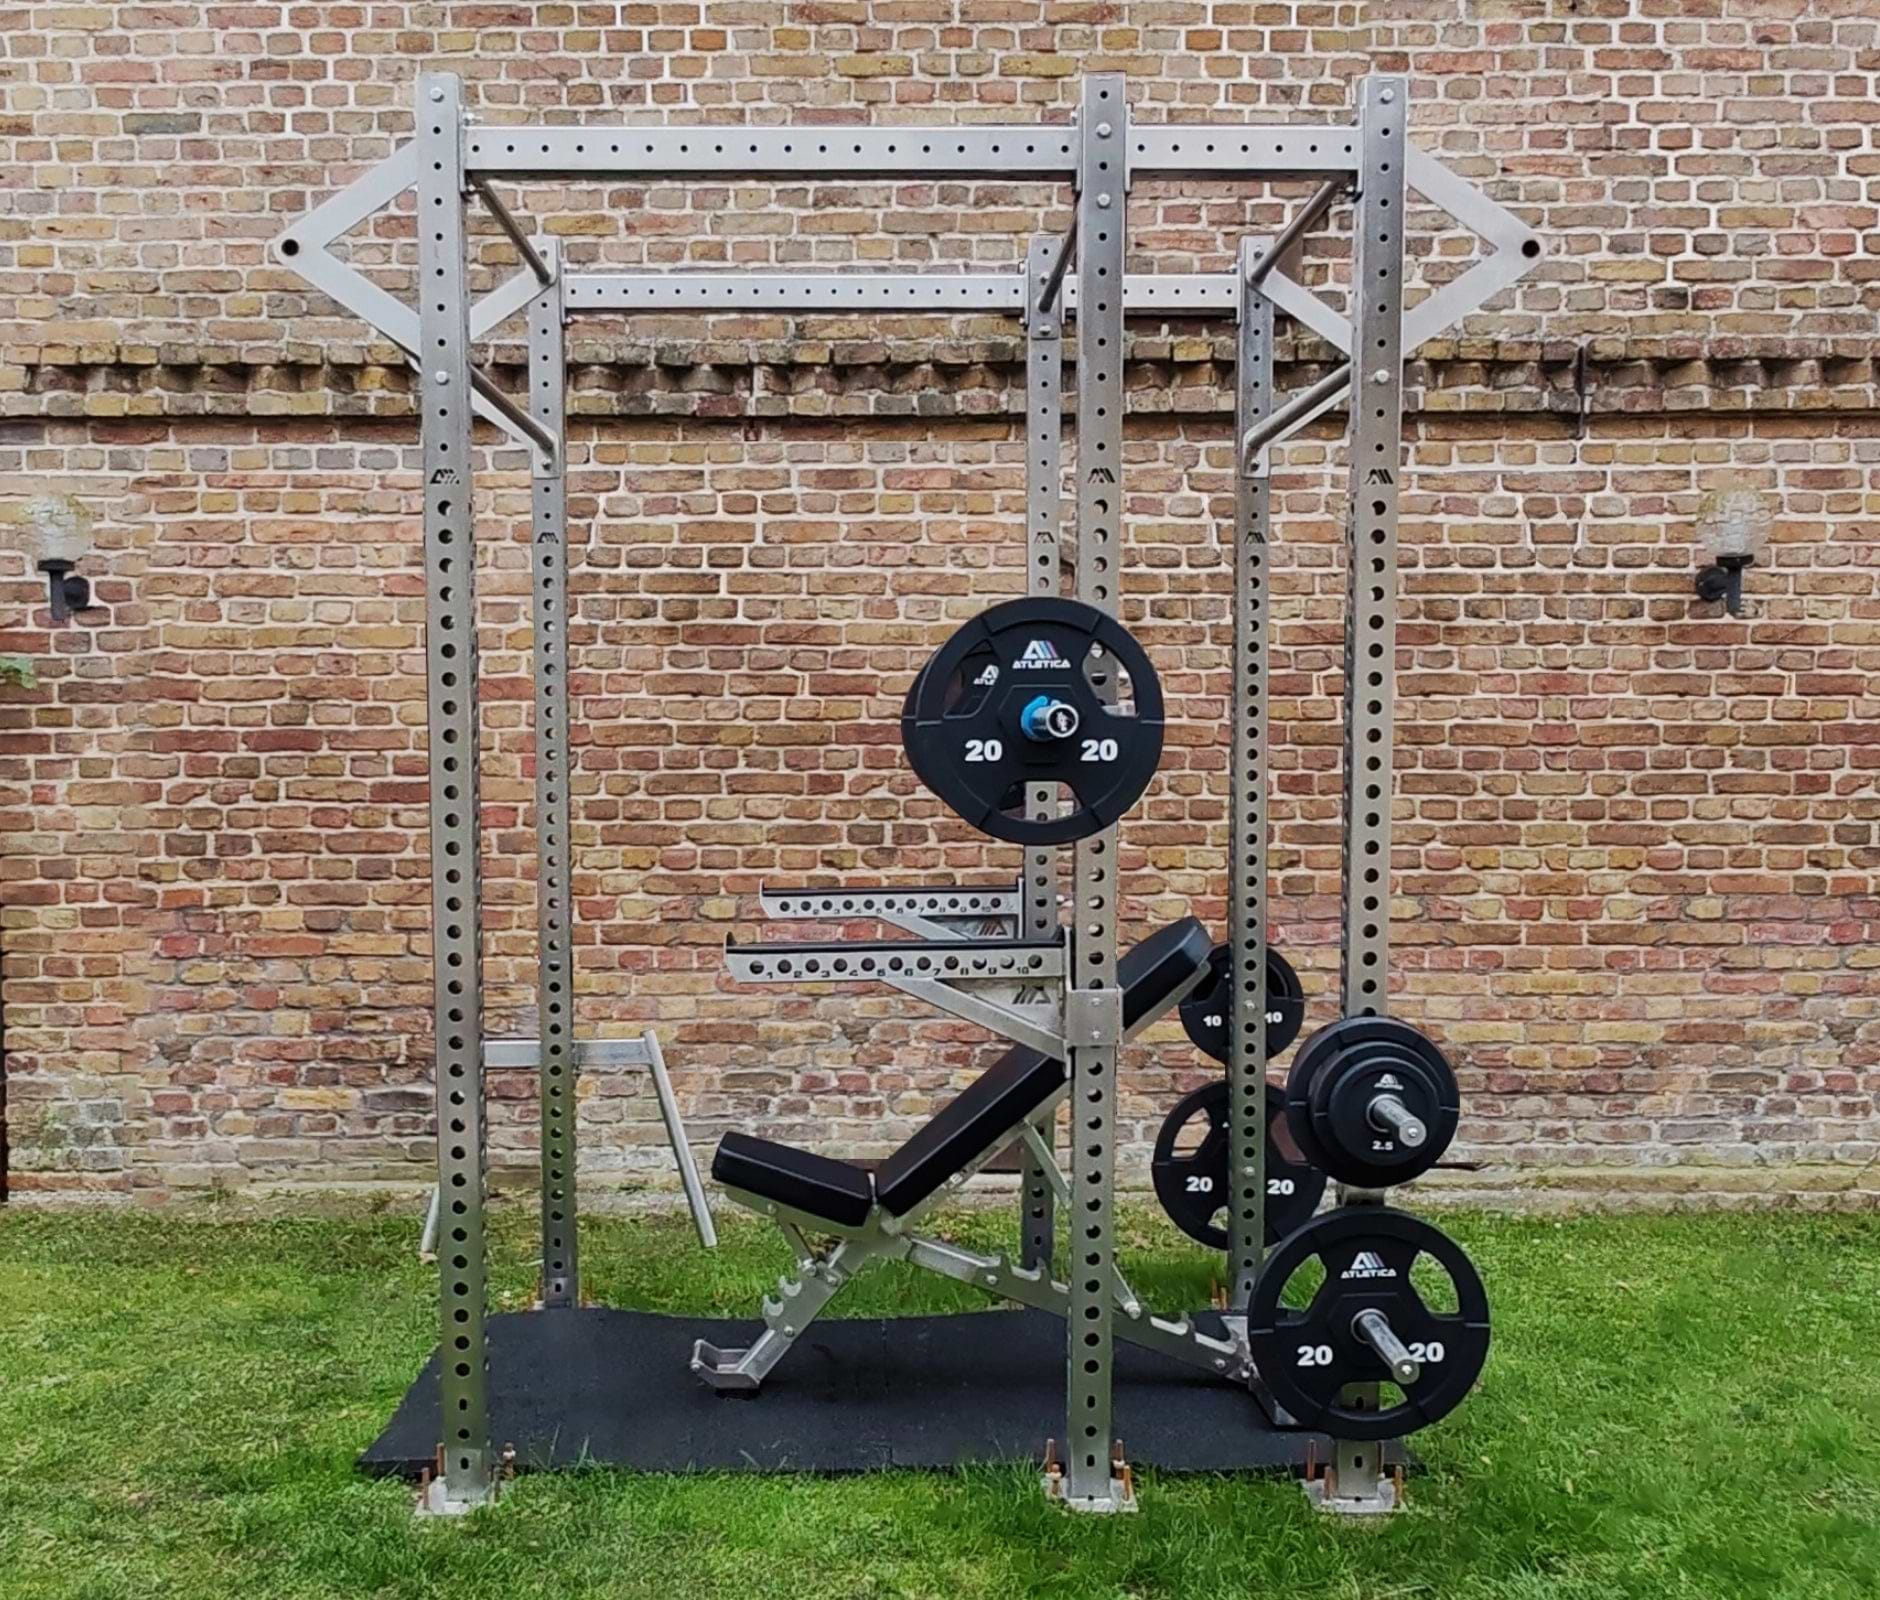
In addition to soil conditions, you should also consider the visual orientation of the outdoor rack and the required safety distance from walls or buildings.

Once installed, the equipment becomes part of your everyday environment—so be sure it’s safely positioned, especially in households with children.

For Grass, Soil and Sand Surfaces

Our ground anchors are a stable, hot-dip galvanized and powder-coated steel frame that can either be set into a concrete foundation or buried directly in firm soil.

Direct Burial In the Ground

If you choose direct burial, make sure the soil is very compact to ensure a secure hold. We recommend using a post-hole digger to excavate the hole.

Step-by-Step Instructions for Direct Burial

  1. Determine the Distance: The distances between the holes must be measured accurately. It’s best to work one post at a time. Choose your desired rack location and start with the first ground anchor.
  2. Dig the Hole: Dig the hole so the anchor fits snugly, minimizing movement from the start.
  3. Align the Anchor: Use a level to ensure the anchor is straight and aligned both vertically and horizontally.
  4. Fill and Compact the Soil: Refill the hole with the removed soil. Flush with water as you go and compact it using a wood block or similar tool to achieve maximum stability.
  5. Attach the Upright: Bolt the first upright in place.
  6. Determine the Distance to the Next Upright: Use a crossbar at the base to determine the correct spacing to the next upright.
  7. Align the Uprights: Make sure all uprights are standing perfectly vertical.
  8. Tighten Nuts: Fully tighten the nuts on the ground anchors only once the full outdoor rack is assembled. This gives you room for final adjustments.

Pouring Concrete Footers

If you’re embedding the ground anchors in concrete footings, follow a similar process. Fast-setting concrete is a good choice. For detailed foundation instructions, see the “Bolt Anchoring” section.

Safety Note

Regularly inspect the anchors for any signs of loosening or damage.